My printer workstation has been getting quite messy – it can be difficult to find the small tools I frequently use (snips, pens, sharpie, knife etc) under all the stuff, and someone told me there weren’t enough LEDs on it. Coincidentally, I’ve also had an LED ring burning a hole in my electronics box. This week I decided to combine these two problems.
Inspired by a previous print of Drippy Bucket, I wanted to create a pot to put my frequent tools in, that doubles as a side-lamp. A smart RGB one of course – you know how I roll.
The Top
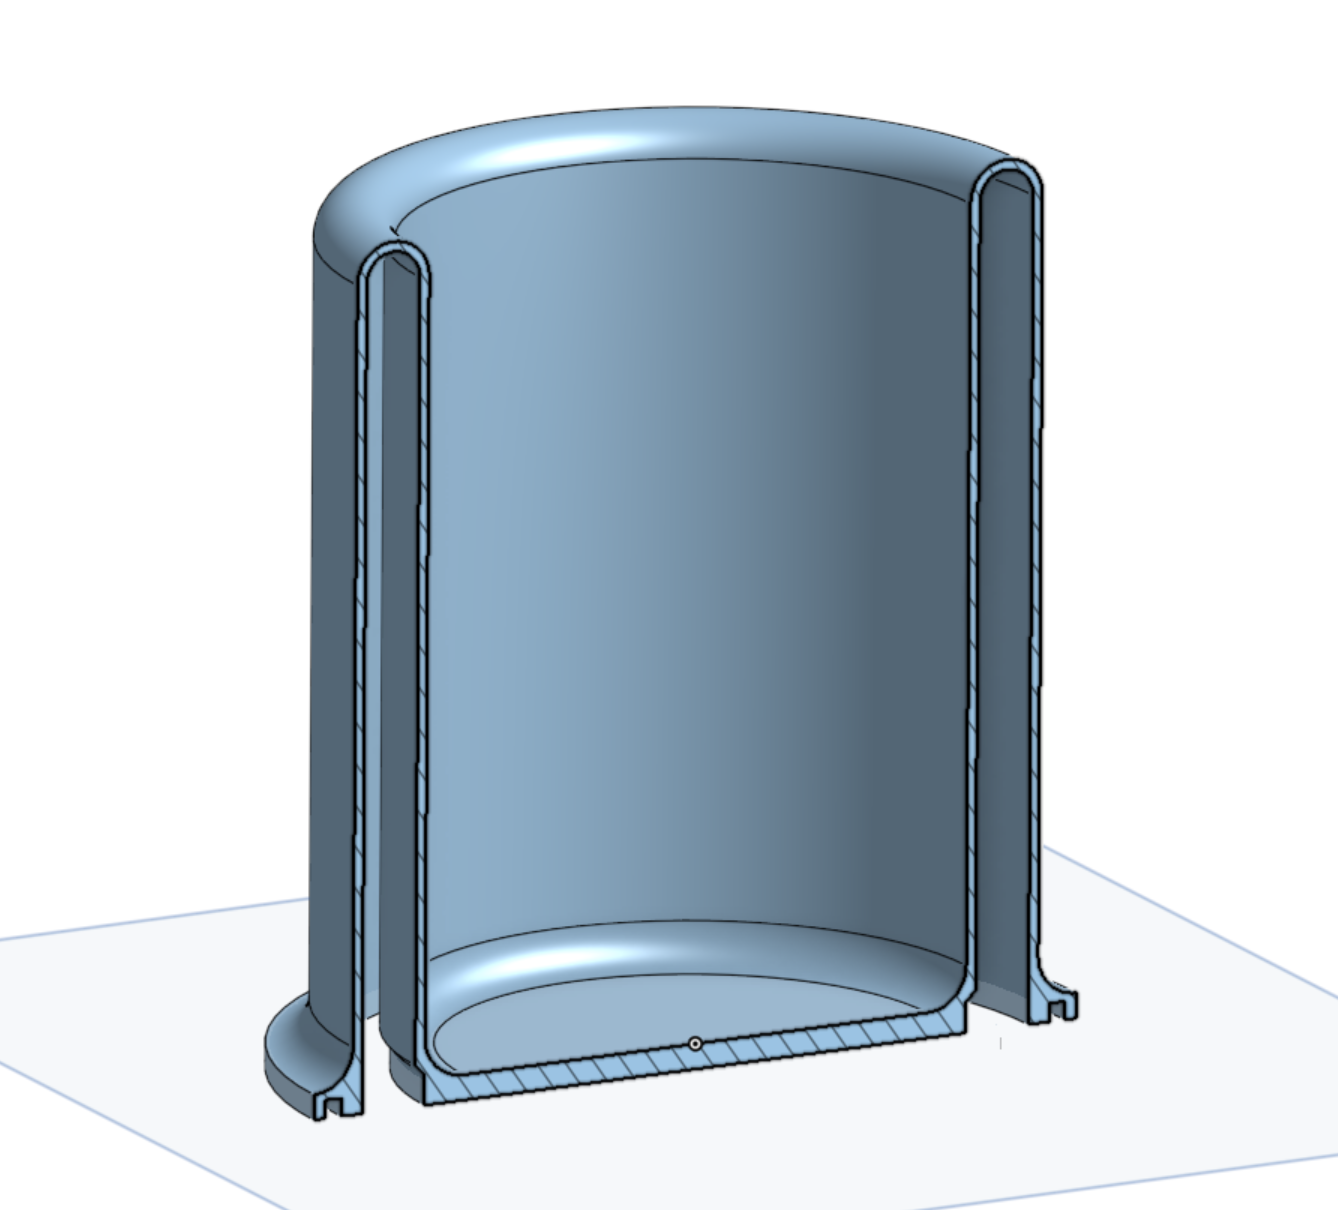
First I went to OnShape and designed the main lamp body. I gave it a chunky hollow wall, which when printed in Clear PLA would allow the the LED ring at the bottom to shine up the void and out through the sides. The curved top (as opposed to a flat top) removes the need for printed supports or long filament bridges.
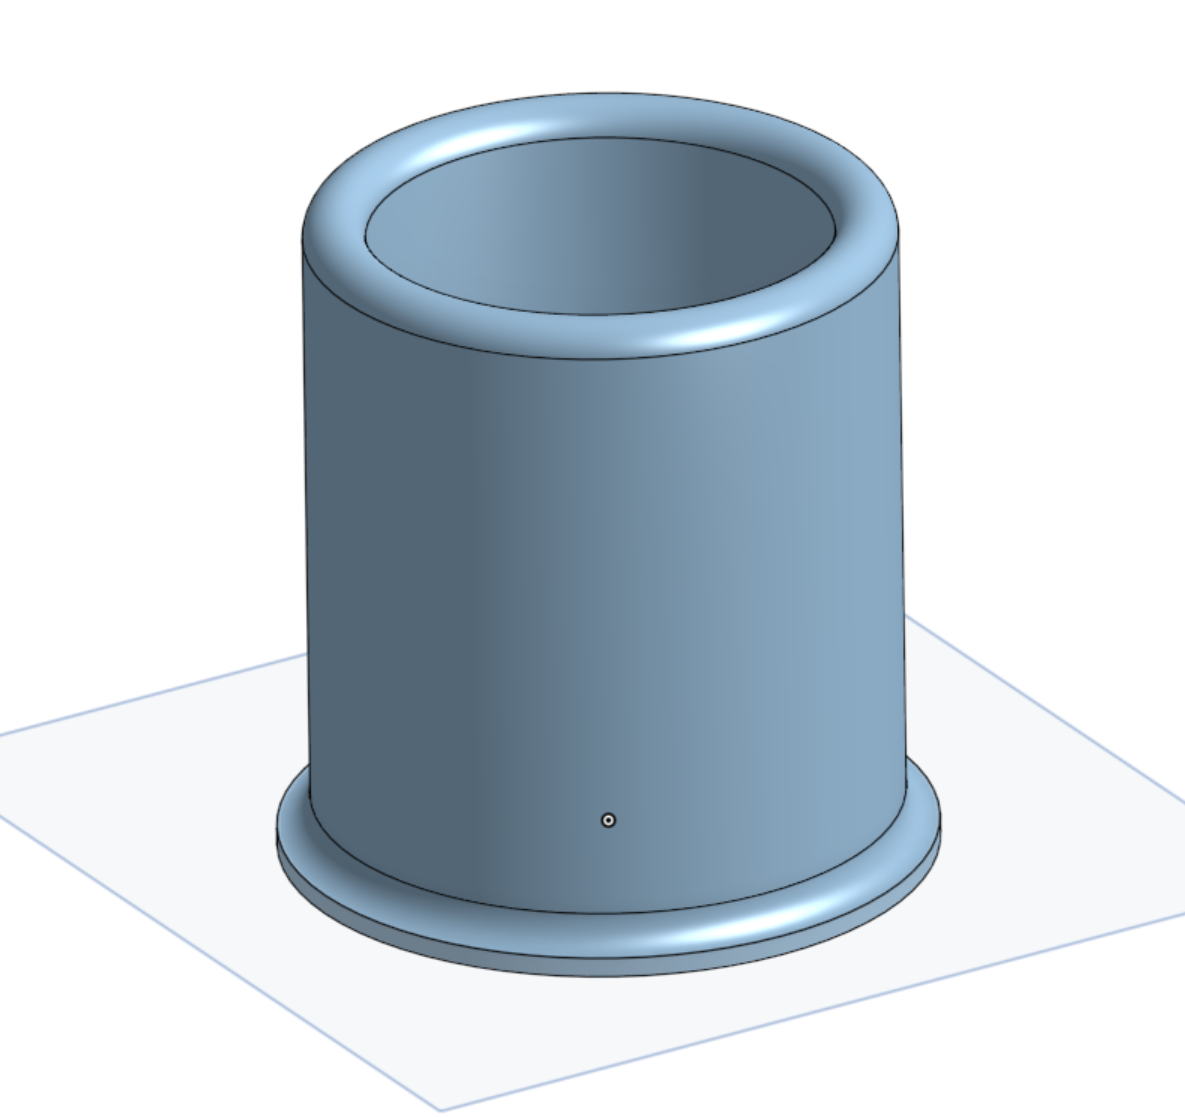
Clear PLA isn’t completely transparent when printed because the print process doesn’t produce a smooth surface, and as the wall is thickened by laying multiple lines of plastic next to each other, it creates a lot of diffusion to any light that tries to pass through. There are different ways of printing and post-processing it to get a more glass-like appearance, but actually I wanted the frosted look for this.

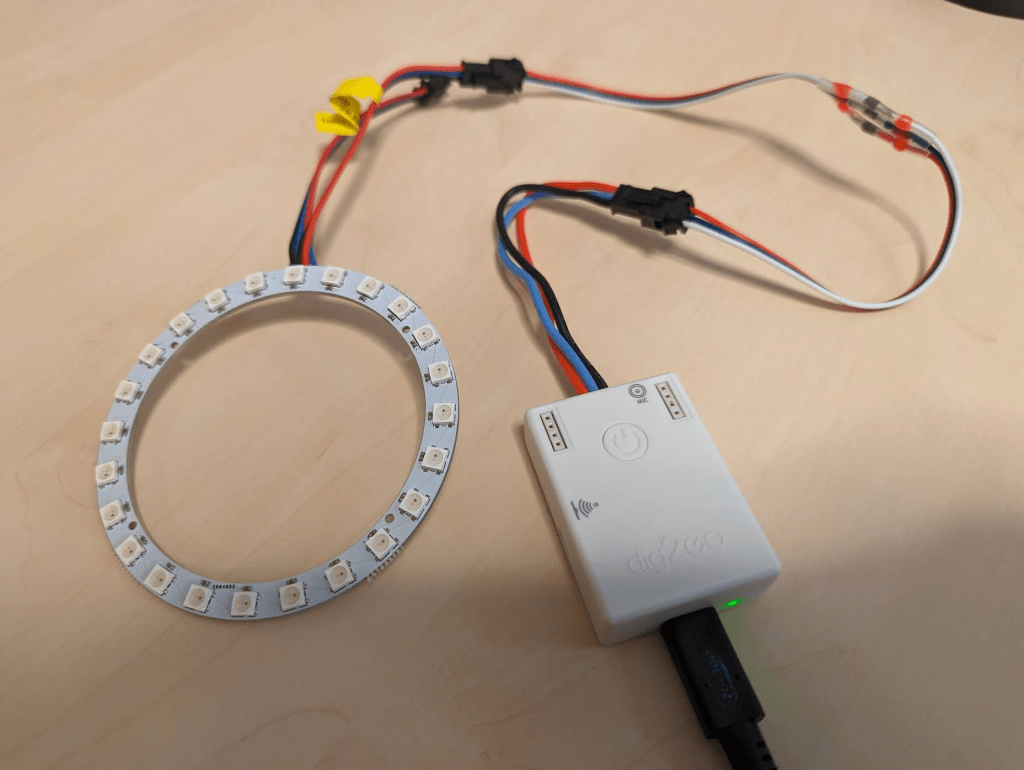
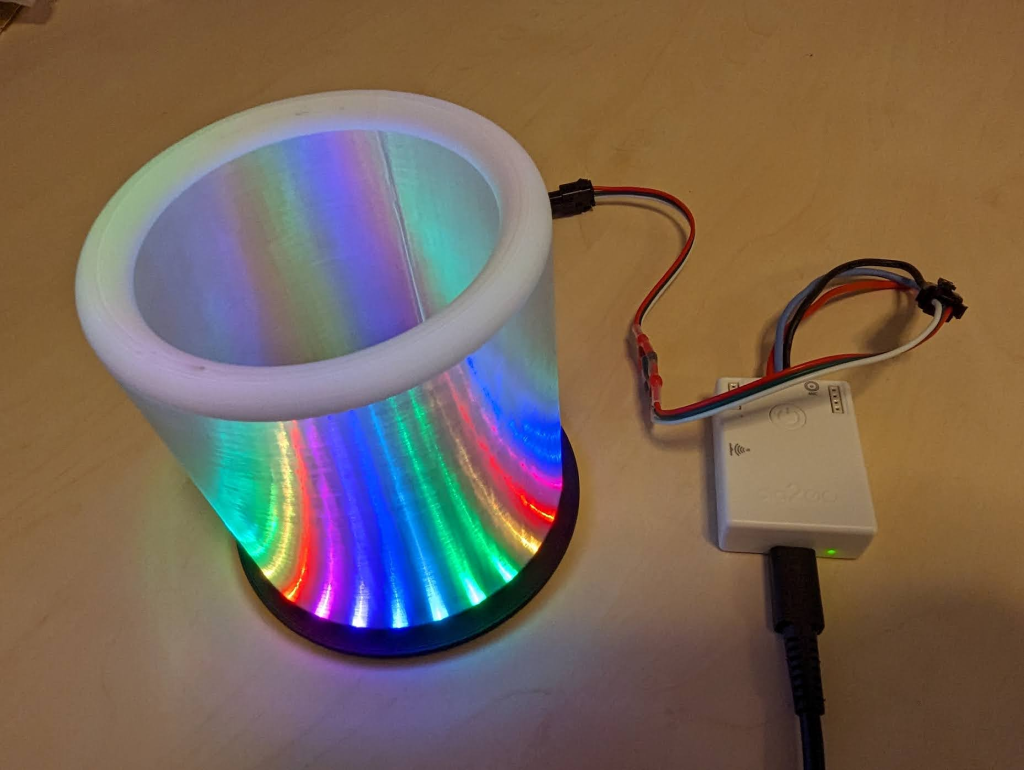
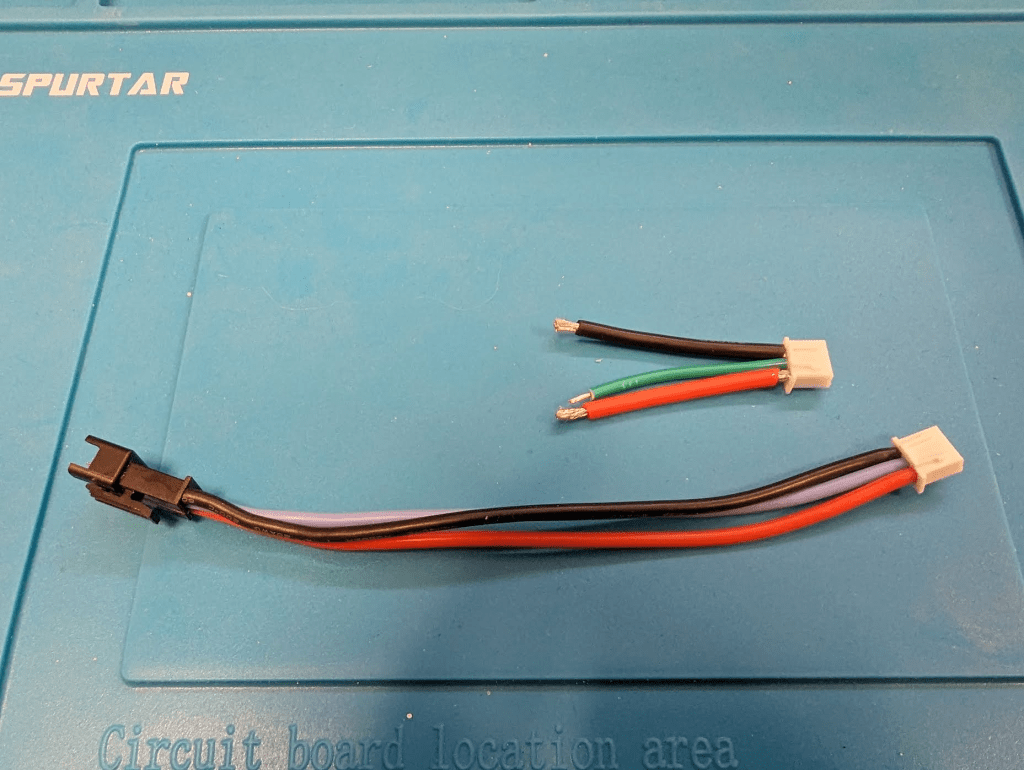
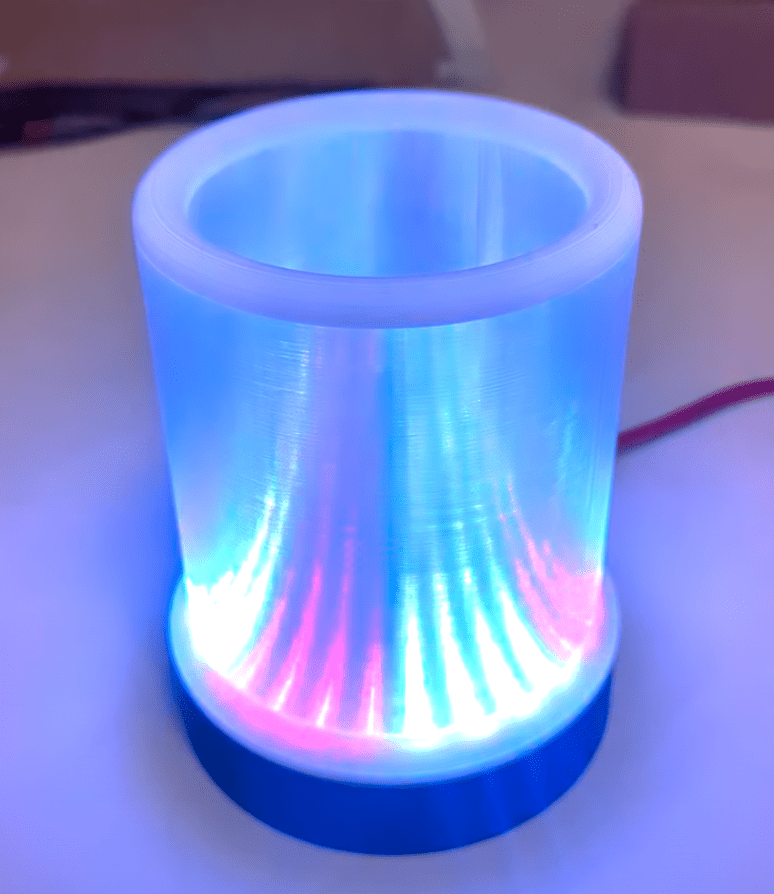
This first prototype was pretty good. I plugged together a Dig2Go (a cousin of the DigOcta I used for LED Games Storage Unit) and the LED ring, with an awkward cable male-male adapter that I had to solder together out of some loose ends I had, as apparently Dig2Go and WS2812B rings disagree on which end of the contraption should be male/female. The LEDs are much less diffused than I thought they’d be, but they produce an unexpected conic effect where the light bends through the side of the lamp. The top ring is also bit messy – it could’ve used a third top layer, as it has a few holes in it and the finish isn’t great.
For the second prototype I added the third top layer, and also two colour changes. The white ring on top tidies up the murky finish, and the black ring at the bottom will blend nicely into the base, as well as reducing the direct view of the LEDs.
The Base
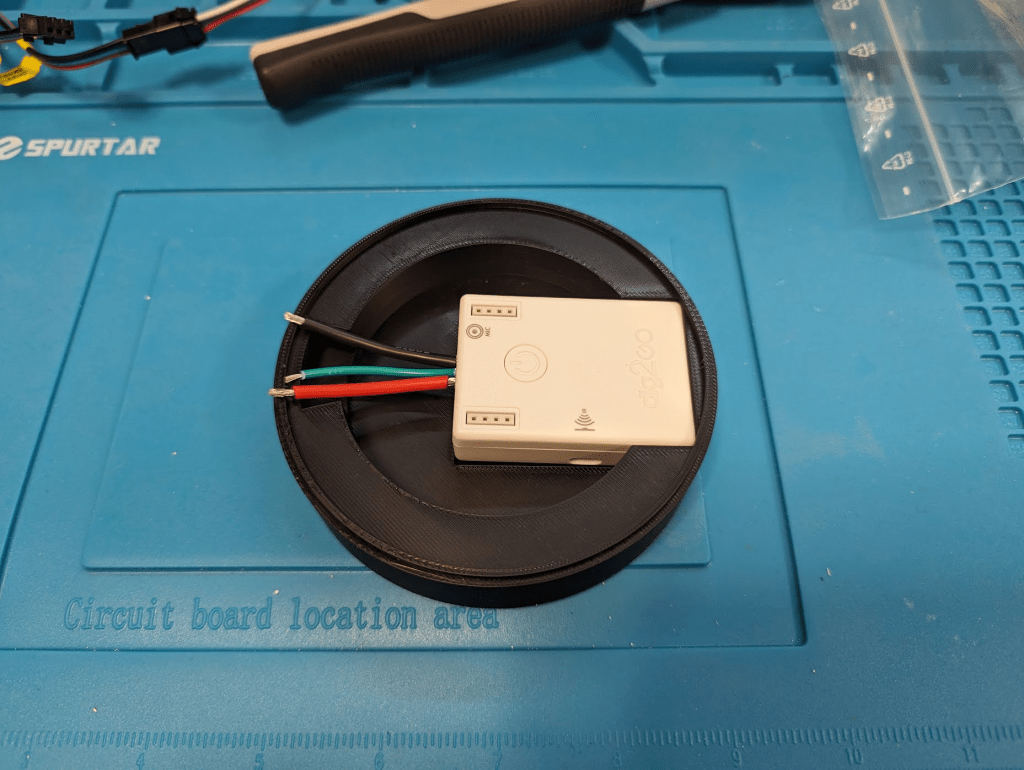
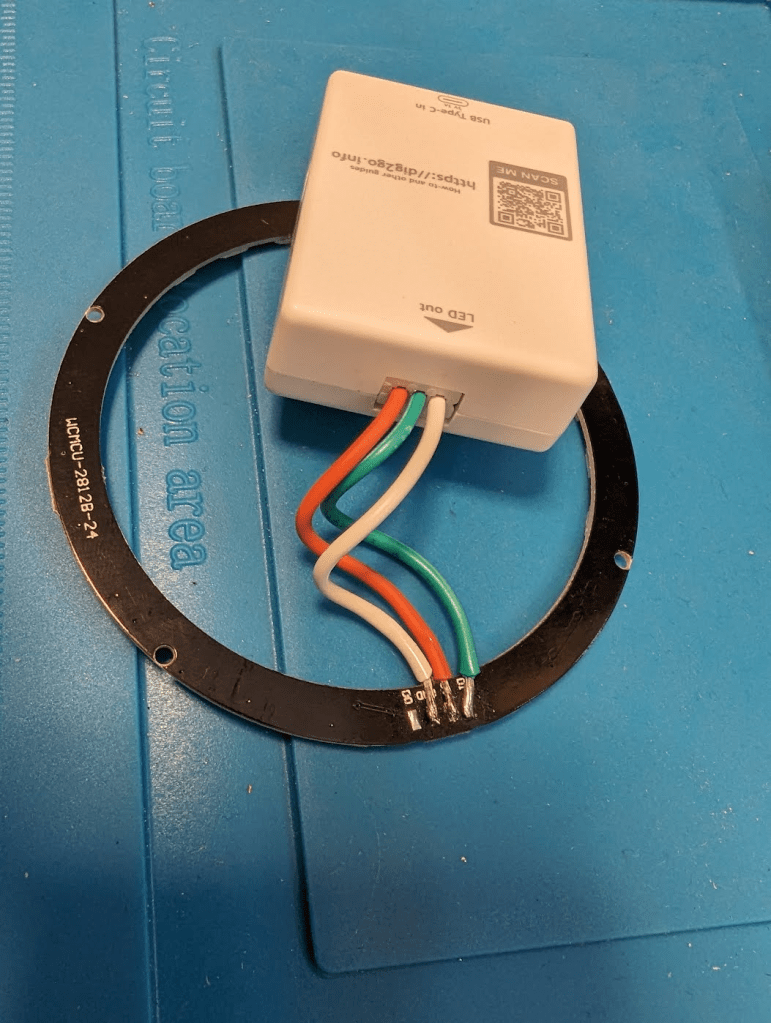
The Dig2Go LED controller will sit inside a base, with the top glued on top. This is basically a short cylinder with a cavity sized to hold the controller in place, and expose its USB-C port for power.
This took a couple of prototypes to get right, especially the cavity shape to grip the controller properly. On the first couple I found that it was too easy to push on the cable and dislodge the controller from its little nest.


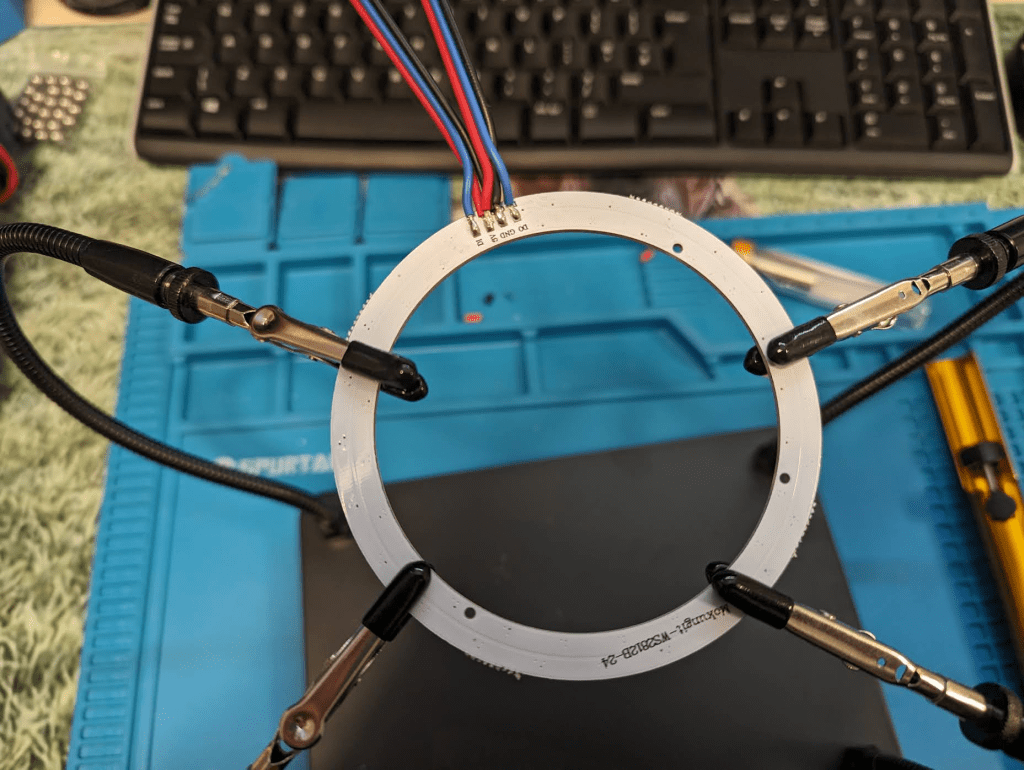
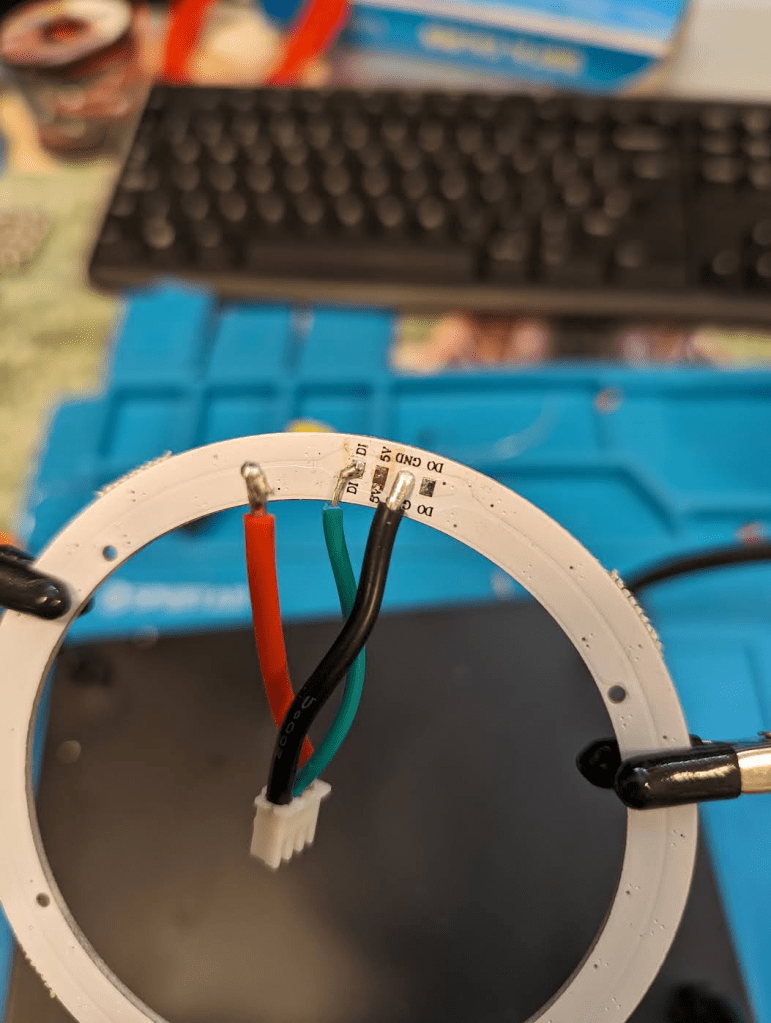
Next job is to shorten the LED cable. This came with the Dig2Go, and I was reluctant to simply cut it as it may come in useful later. But handily, the controller end is a JST XH connector – the same type I used for the LED Storage Unit, so it was easy to just make a new cable, and solder directly to the LED ring.
I desoldered the existing wires from the ring, and started to add the new one. Unfortunately the ring’s 5V solder pad broke off while I was doing this, rendering the ring useless – the project had been so close to done and this threw a spanner in! 😭
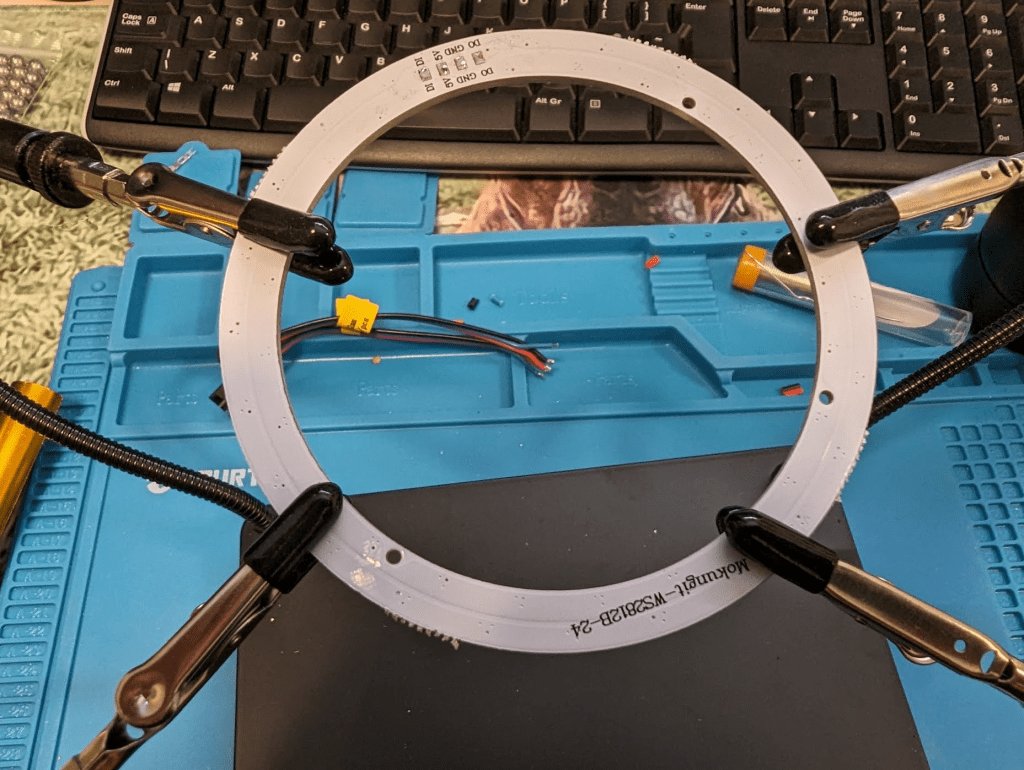
I had to order a new ring. I found another online, but ideally I wanted one without the pre-soldered wires as it could just happen again – I think the desoldering had worked the pad too much. This meant I had to get a different brand, and that frustratingly meant it was a slightly different diameter- only 1mm, but it didn’t fit inside the top I’d already printed, and resizing the top meant that that no longer fit the base. I took advantage of needing the reprint to make a few more refinements on the base – making the cavity tighter, and adding small placement guides to fit the top.

Sometimes bits of filament get stuck in the nozzle/hotend and dislodge later. This can be most noticeable when printing with a lighter filament (eg white or clear), as it shows up colours and dark bits quite easily. There had been a few random specks of black in the white ring on the last print that was now useless. Normally I would fix this between critical prints by either purging some of the new filament through the nozzle, or using a bit of cleaning filament. But you can’t really do that in a multi-material print like this. So I just went for the print and a bit of luck meant they didn’t reappear in the new top that fit the new ring.
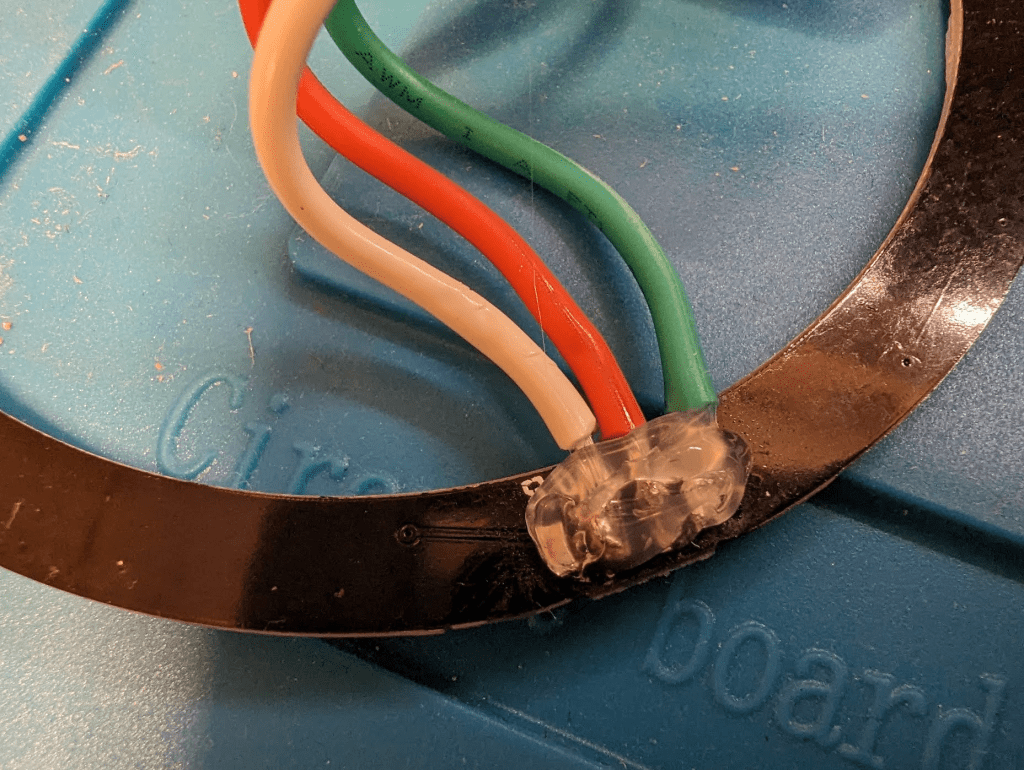
After a few days, the new ring arrived and soldering that went much better. I also re-made the cable to be a bit shorter and also to fix a dodgy crimp on the XH connector. A blob of hot-glue secured the solder.
I fit the electronics and glued the lamp together – done.
Effects
I spent a while playing with WLED to find a variety of effects that looked cool. I could have made it entirely match the rest of the room (the Storage Unit and Workstation), but I wanted this to stand out a bit more on its own. I also wanted to try WLED’s sound reactive effects – Dig2Go has a mic built-in, and although I hadn’t added an air hole for it in the base, it was still able to hear really well. I created a playlist that included a few animated and sound reactive effects, and setup Home Assistant to turn the lamp on/off in sync with the rest of the room’s lighting.
Printer Status
Home Assistant has a great integration for Bambu printers that surfaces loads of stats about the printer, including a view of the internal camera, the status of the current print – progress %, finished/failed, and even the current filament colour! I wanted to add some of this information to the lamp, primarily so I could see at a glance whether it had finished or was stuck.

I created green and red flame effects in WLED to represent these two states, and trigger them when the printer status changes. These sit on top of whatever the room lighting is doing, so they’ll stay green/red even as the lights turn on/off. Once the status is dismissed – either by opening the printer door (and triggering a magnetic door/window sensor), turning the printer off or resuming print (once a problem has been resolved) – the lamp returns to the room state (ie either on or off). I also added a progress effect that matches the filament colour and lights to match the current %, but it still needs some refinement as it doesn’t show very often – I still wanted the regular lighting to show during the print as it’d be a bit boring otherwise, and isn’t very noticeable when it does show up for a few seconds.
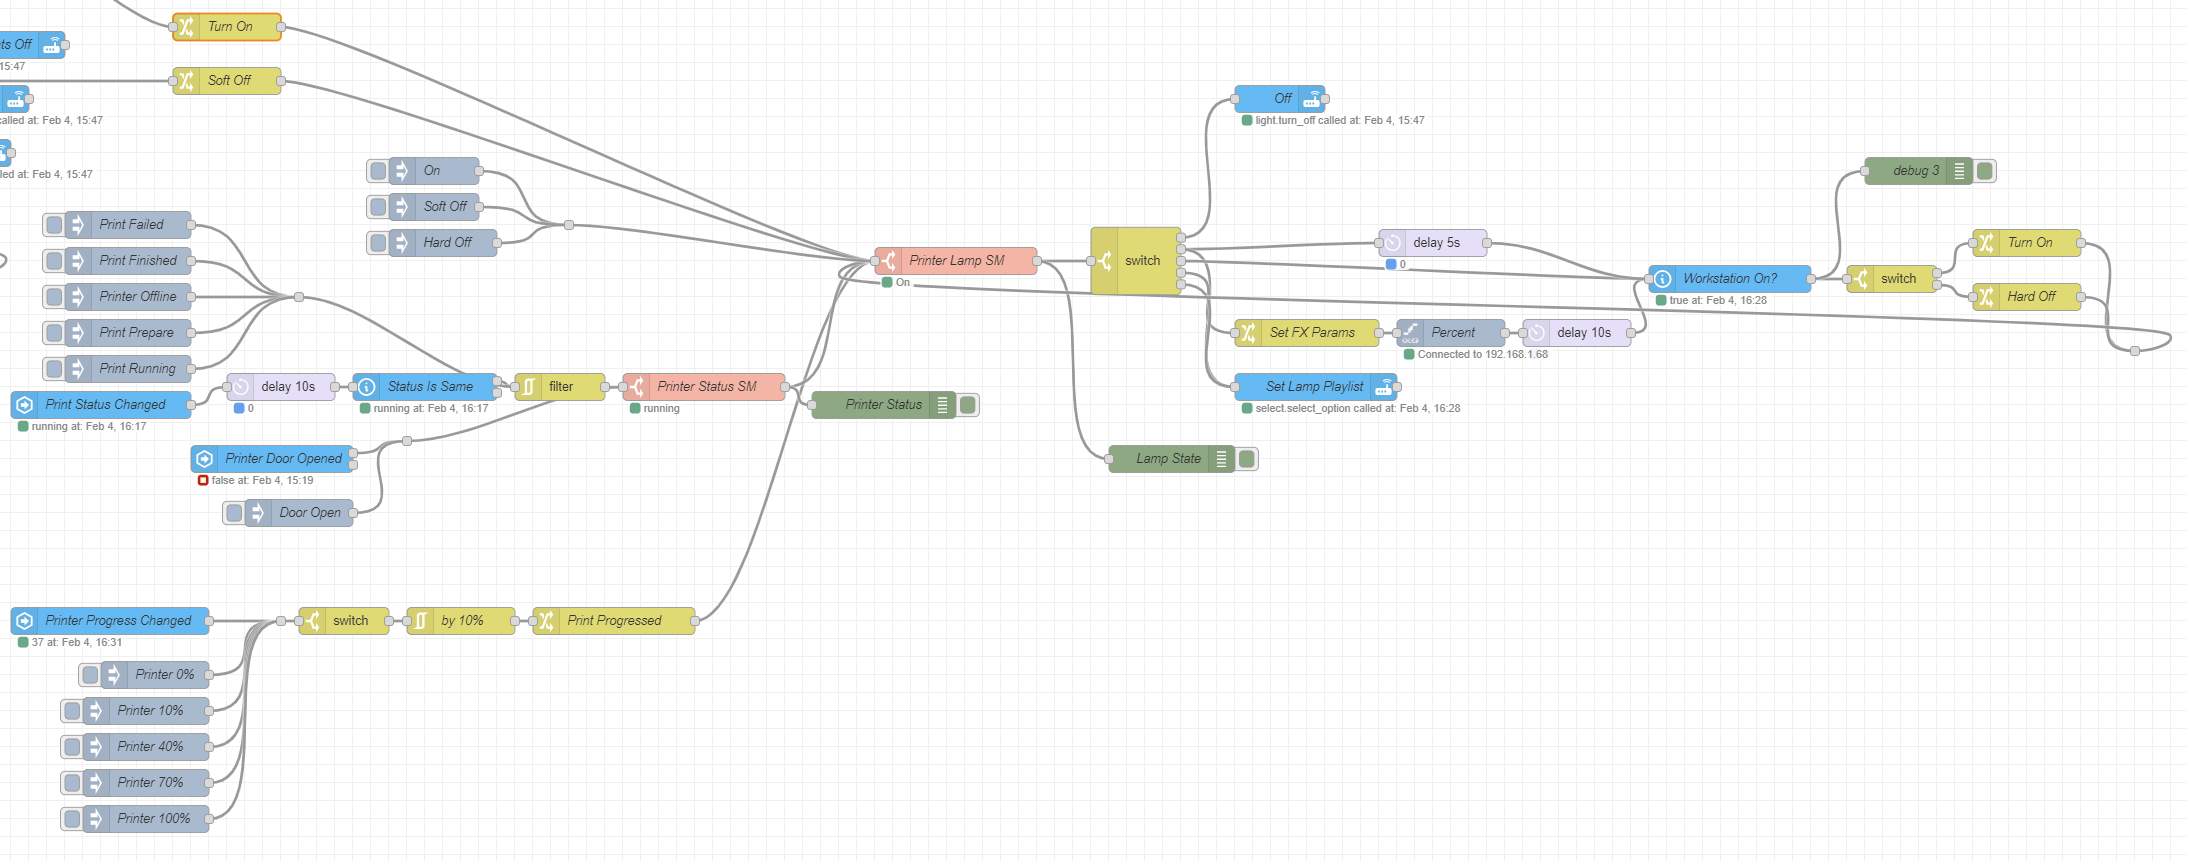
I’ve been switching to Node-Red for my Home Assistant automations, and this was a fun one to integrate into the existing Games Room lighting logic. It used a few node types that I hadn’t really tried before (State Machine, Filter), and was pretty fiddly to get right – I’ve had it online for a few weeks, and still found another bug today. As normal with visual programming languages, I’m sure this would’ve only been 10 lines of python, but it’s still fun.
Ingredients
Materials
- Bambu White PLA Basic [Link]
- Bambu Black PLA Basic [Link]
- Sunlu Transparent PLA [Unavailable?]
- Dig2Go [Link]
- 24 LED Ring [Link]
- JST XH connectors [Link]
Resources
- LED Storage Lamp [Maker World]

Leave a comment